Construction 101
There’s more to a successful project than simply what you see on the finished surface. The long term performance of your project is determined by the quality of work that’s done underneath your pavers and walls.
-
Excavation
The first step in any project is excavation of grass and topsoil. The depth will depend on two factors:
- Soil Type – Clay soil requires deeper excavation; sandy soil requires less.
- Use – Heavy loads like driveways and retaining walls require deeper excavation; lighter loads like patios and walkways require less.
Depth of excavation can be reduced by adding DriveGrid™ once the soil has been removed.
-
Gravel Base
Gravel base
The excavated area will be filled with a base gravel. This gravel base needs to be:Strong enough to handle the load of whatever is placed on the surface.
Free draining so that water drains out of the base into the subsoil. Retaining walls may require a perforated drain pipe in the gravel base to direct water away from the base of the wall.
Extended at least six inches beyond the edges of the finished paver surface.
Compacted in several layers, using the proper equipment.
-
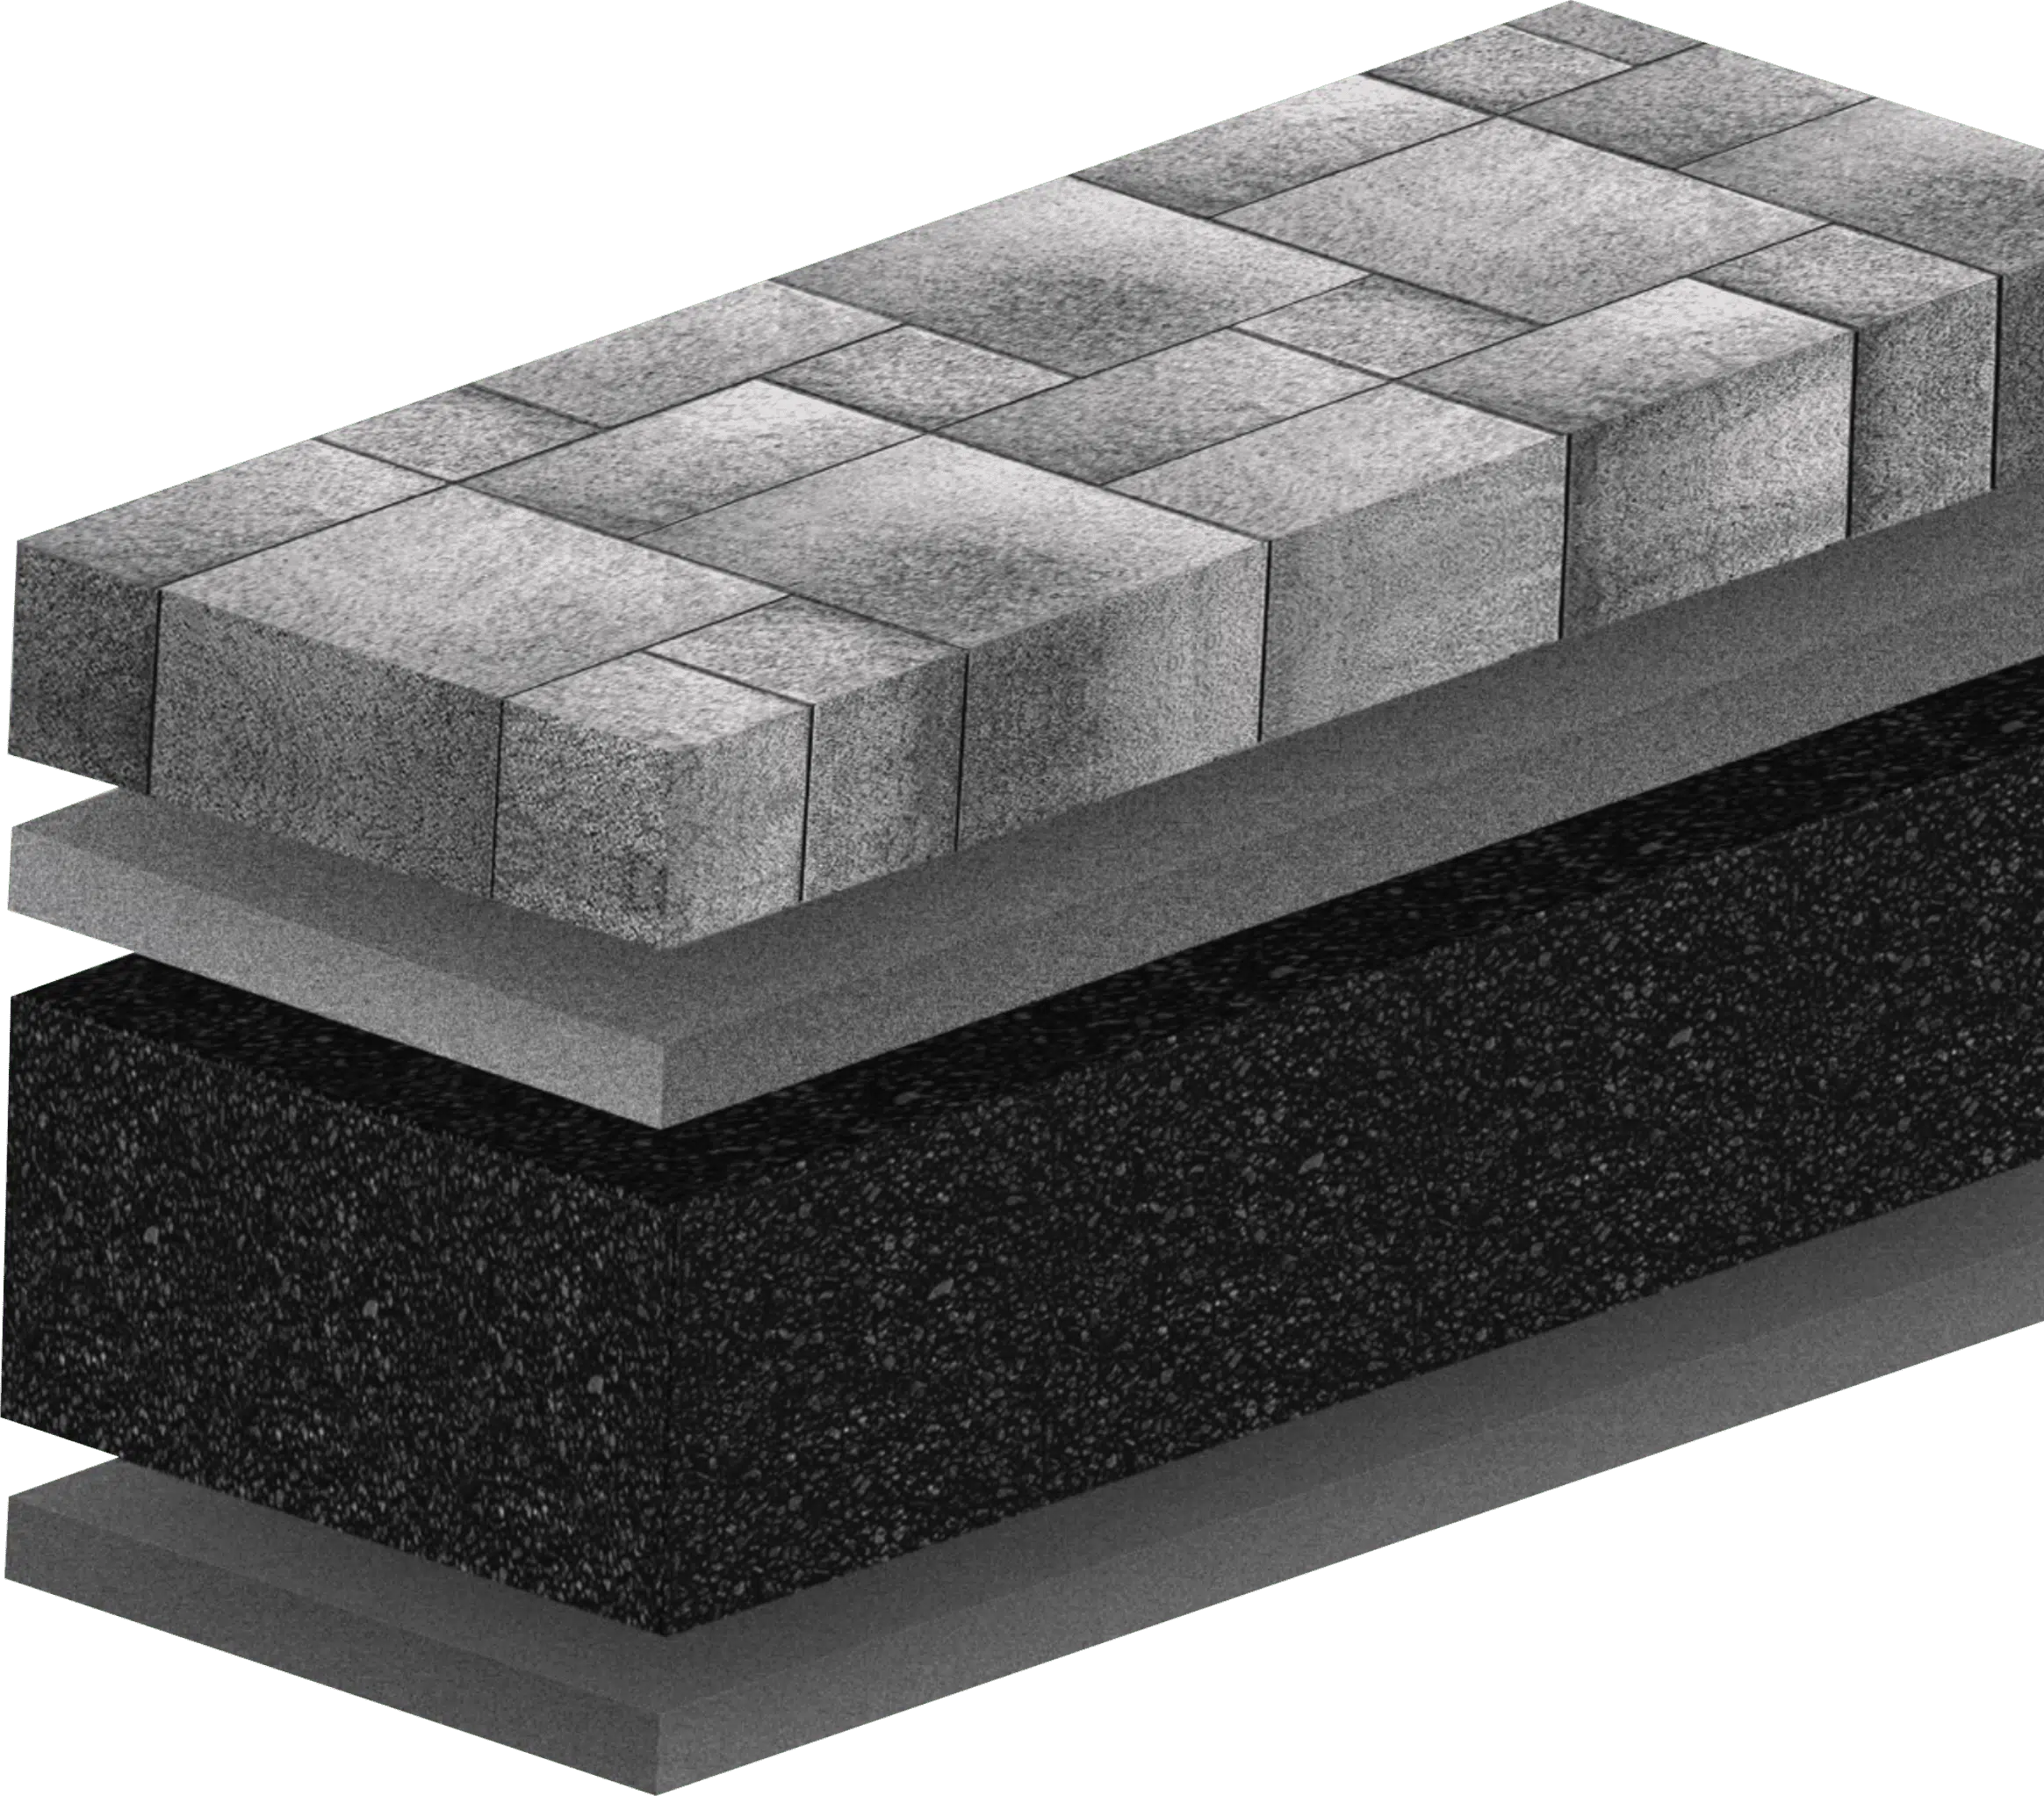
Bedding Layer
A 1” (25mm) layer of sand or tiny stone chips is spread out and smoothed on to p of the solid gravel base.
This layer allow a paver or wall units to be leveled or sloped for smoothness and drainage.
Some contractors may recommend a poured concrete surface instead of a typical bedding layer, which is fine as long as the concrete is accurately poured and sits on a stable and well-drained base. Not: Once concrete is poured, the height or wall units can no longer be adjusted.
-
Laying the Pavers
Once the bedding layer has been placed and smoothed out (called “screeding”) the pavers are laid on to the bedding course. Never walk on the bedding course while installing the pavers. Start laying the pavers against a building wall or structure first and fi your project has an accent border, install those pavers first. Use one of our pattern sheets to help keep your overall pattern on track.
Once you reach the outer perimeter of your paver installation, plan and execute any cuts that are necessary to complete your edge design.
-
Restraint System
For pavers, an edge restraint will be secured with long metal spikes to prevent perimeter pavers from drifting out. For walls, glue may be used to secure rows of blocks and larger retaining walls may require georgic to be used every few layers to secure the wall into the soil that is being retained.
-
Joint Material
The color you choose for joint material impacts the overall aesthetic. It also plays an important role between pavers, in keeping weeds and other debris out. Your contractor can help you decide which joint material is right for your project.
There are two types of joint material to choose from:
Basic Jointing Sand – Years ago, this was the only joint material available. As it wore away, issues with weeds could arise. If you choose a basic sand, we recommend that you use a joint stabilizing sealer and be prepared to replenish the sand when needed.
Polymeric Sand – This special sand stays in place longer because it is combined with a binding agent. However, it’s not right for every project and needs to be installed with care to prevent hazing.
-
Sealing
Unilock pavers will be durable with, or without, sealer. Some homeowners chose to apply a sealer to enhance the color of the pavers, while others choose to appreciate the color of the pavers as they are. Sone Unilock pavers are sold factory sealed. If you choose to seal, you should plan to re-seal every 3-5 years.